Saturday, May 2, 2026
How to Switch from Classic to the New VCom

⚠️ Before You Start
Do not run Classic VCom and the new VCom at the same time.
Both applications occupy the top portion of your screen. Running them simultaneously will cause conflicts across all workstations. Before activating any computer on the new VCom, make sure Classic VCom has been closed on that machine.
To fully close the new VCom (when needed), look for its icon in the system tray at the bottom-right of your taskbar. It may be hidden — click the arrow to expand hidden icons, then right-click the VCom icon and choose Quit.
What's Changing
Classic VCom was installed directly on your local network. The new VCom is cloud-based, meaning your team stays connected from anywhere, updates happen automatically, and there's no local server to maintain.
Your recipients, sounds, and message templates can all be brought over — nothing starts from scratch.
Step 1 — Create Your New VCom Account
Go to https://virtualintercom.com/auth/signin and sign up for a new account.
You can use any email address — it does not need to match the one from your Classic VCom account. Once your account is created, your practice will have its own Organization and a default Main Location already set up.
Step 2 — Import Your Classic VCom Data
This is where your recipients, sounds, and message templates come over from the old system.
- From your dashboard, click Import in the left sidebar
- Locate your Classic VCom database file on your server or main computer. It's typically found at:
C:\Program Files (x86)\VCom\Dispatcher\Database\VCom.mdb - Upload the
.mdbfile using the import tool (max 10MB) - Click Import VCom Classic Data
Once complete, your recipients and their assigned sounds will be ready to use. Message templates will also be migrated as part of this process.
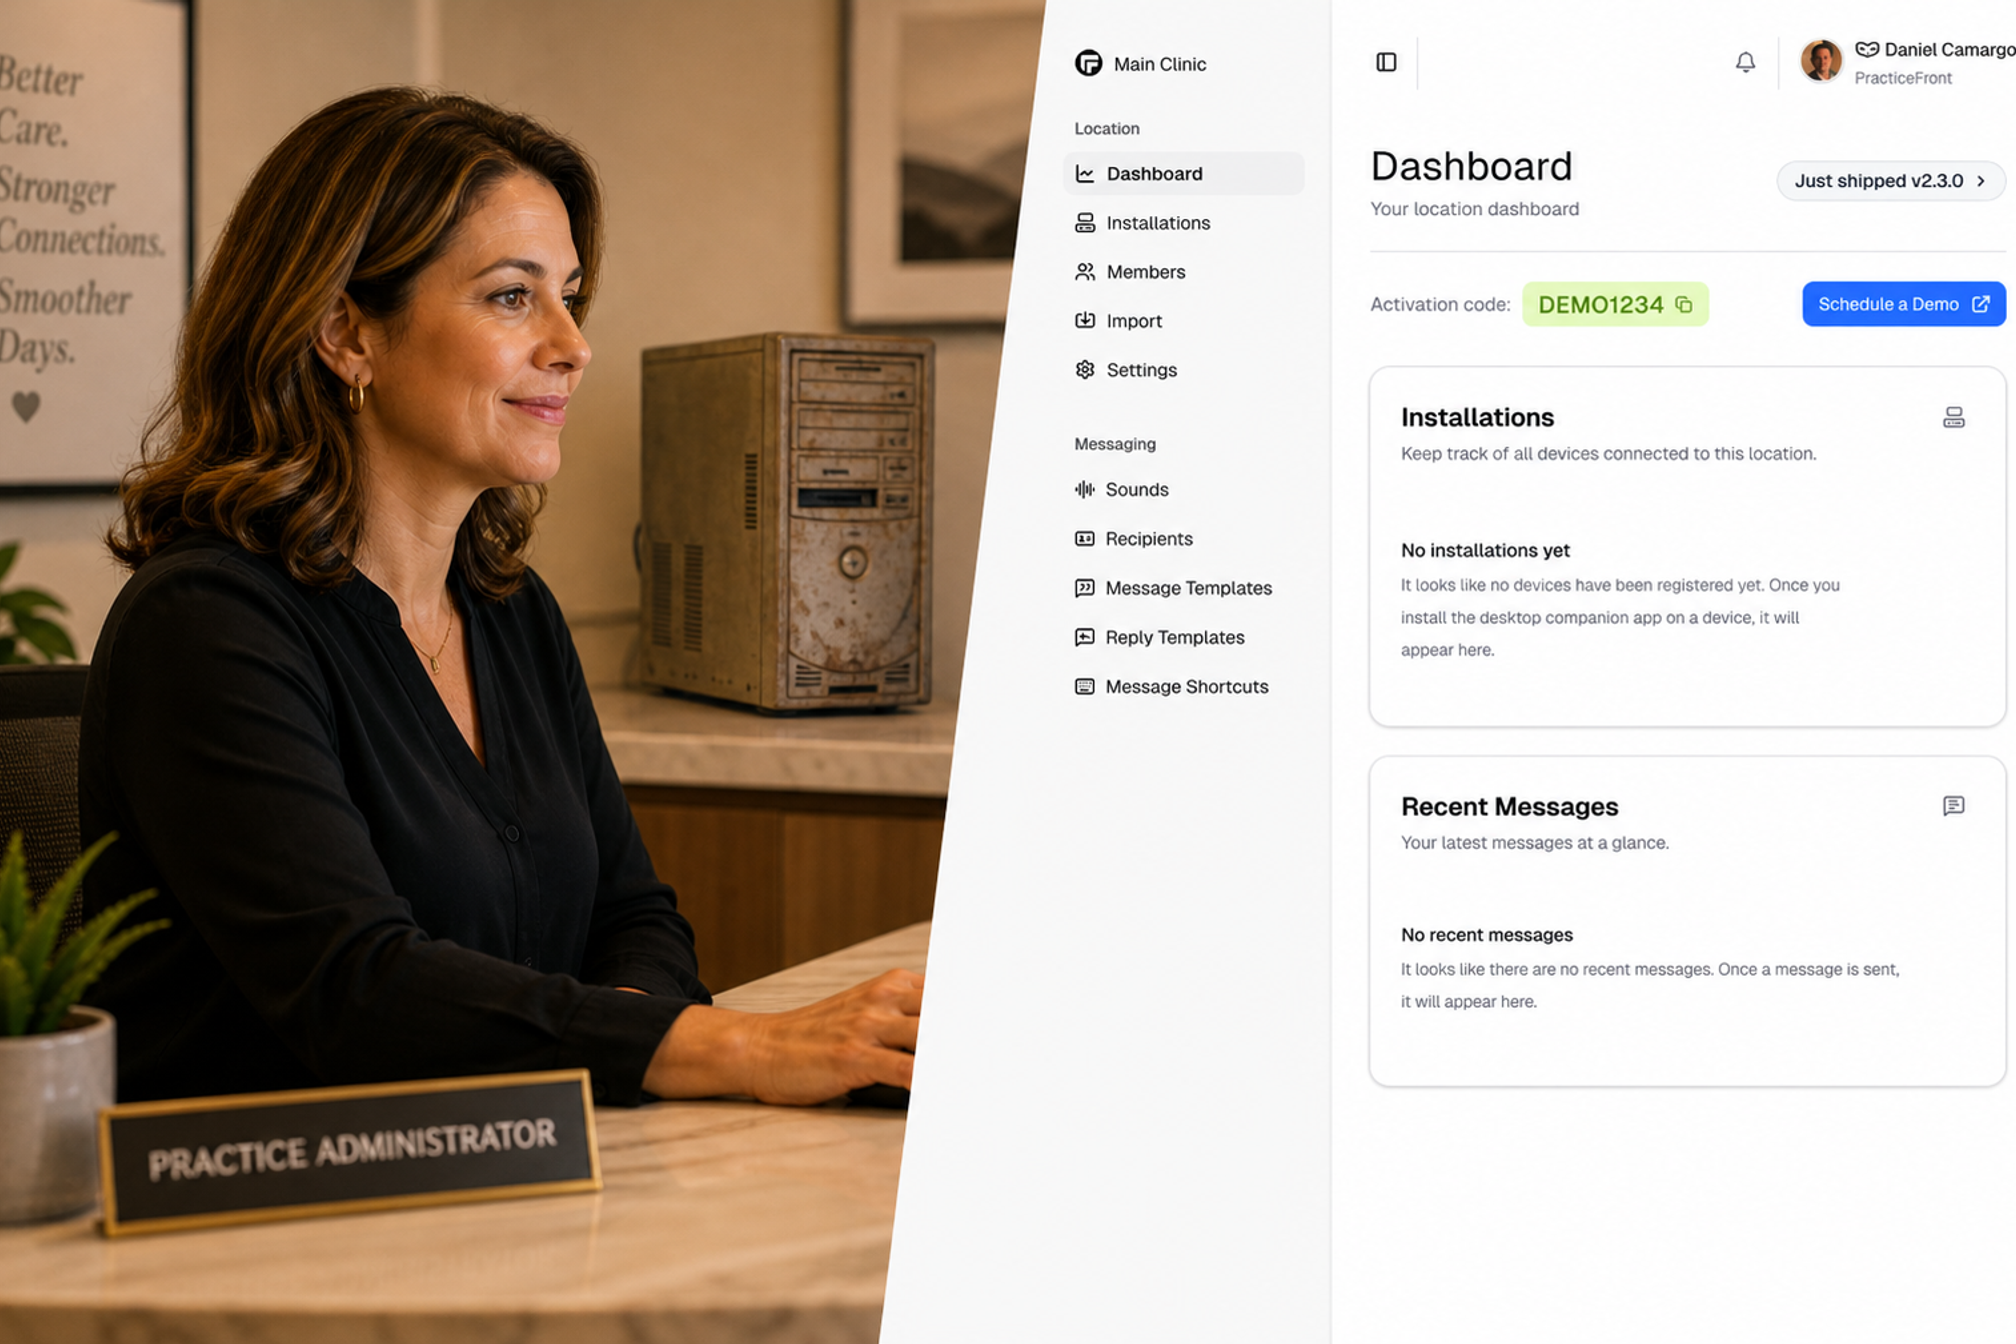
Step 3 — Get Your Activation Code
Every workstation in your practice connects to your location using a unique Activation Code — no need to log in individually on every computer.
- Go to your Dashboard at virtualintercom.com
- Find the Activation Code displayed near the top of the page
- Keep this code handy — you'll enter it on each computer during setup
Step 4 — Download and Install the New VCom App
Do this on every workstation in your practice.
- On each computer, go to https://virtualintercom.com/product
- Download the right version for that machine:
- Windows 10/11 → Windows Installer (recommended) or Microsoft Store
⚠️ Before installing on any computer, confirm that Classic VCom is closed on that machine first.
Step 5 — Activate Each Workstation
When the app opens for the first time, it will ask for two things:
- Your Activation Code — enter the code from your dashboard
- A name for this installation — this is the name of the room or station, such as
Checkout 1,Chair 4, orFront Desk
The installation name matters: when someone sends a message like "Dr. J come to @here," the @here is automatically replaced with that room's name — so the right message reaches the right place.
Repeat this on every workstation.
Step 6 — Test Before Your Next Busy Day
Once all workstations are activated, run a quick check:
- Send a test message from one workstation
- Confirm the message bar appears at the top of all other screens simultaneously
- Confirm the correct sound plays for the intended recipient
- Confirm Classic VCom is no longer running on any machine
Need Help?
If you run into any issues during the migration, reach out and we'll help you through it.
support@virtualintercom.com
Please include your practice name and a brief description of what you're seeing.